
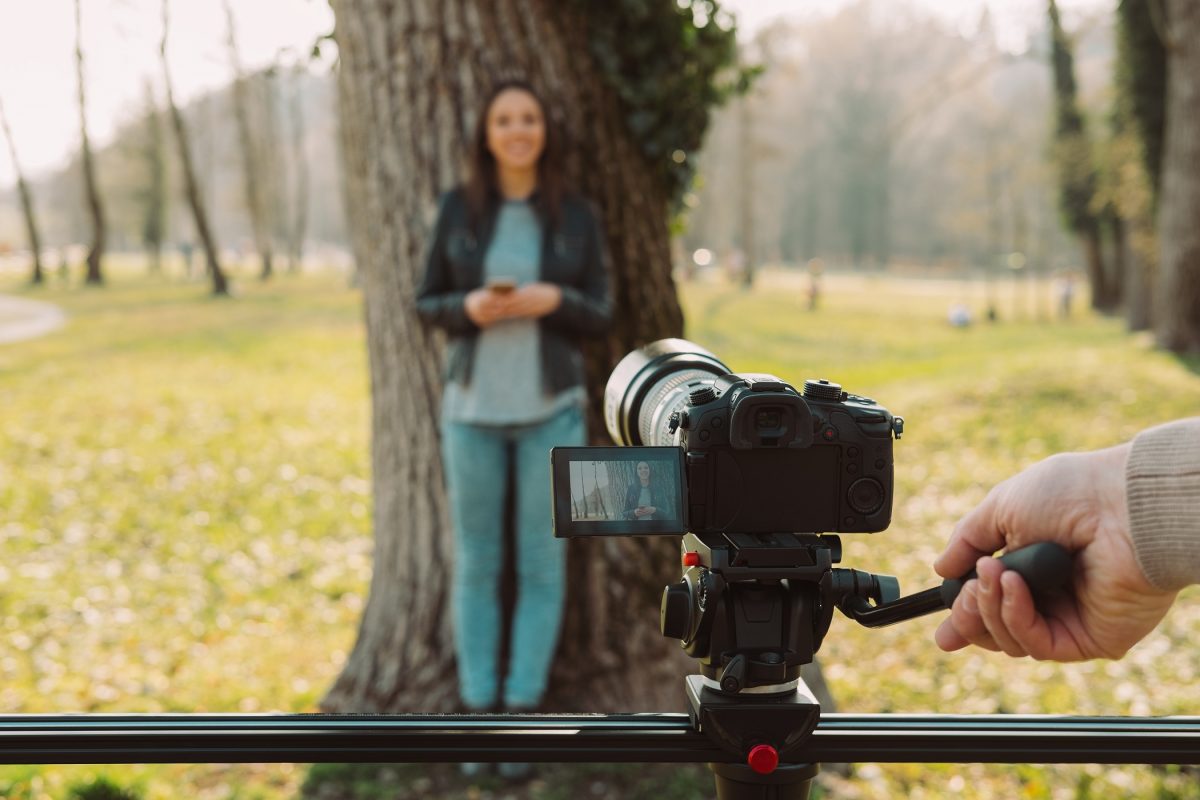
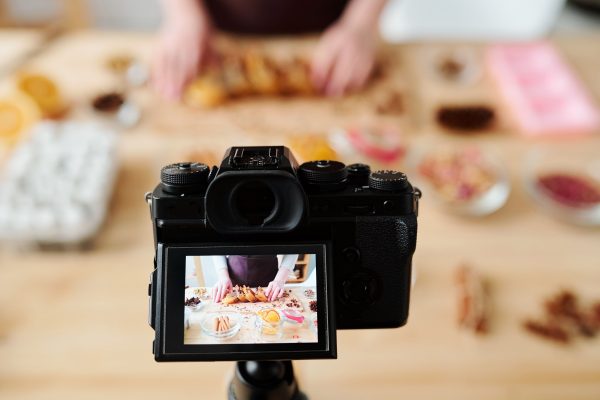
Lights, Camera, Leads.. Why do videos attract and convert more sales than other types of marketing efforts?
The simple answer is that we humans are visual creatures, and for all of human history, movement has attracted our eyes. Movement could mean food, friend or foe, and thus, we’re highly attuned to movement as it meant survival. Videos are merely moving pictures with accompanying audio.
On the social media side, Facebook has been prioritising video content over other kinds of content, and ever since Facebook Live was launched in 2016, it has exploded in popularity (https://mashable.com/2016/06/15/facebook-video-five-years/#bnEnArC3gsqm). As of 2019, in every minute, people are uploading 300 hours worth of videos!
Video has dominated social media, with viral videos reaching an audience of millions in mere days. 4 of the top 6 channels that global consumers spend time on videos are via social channels. This should show you the power of video marketing.
But, why is this important to you? And, isn’t it expensive to produce a video? And how should you even start?
Good questions. We’ll start with why video marketing is important to you.
- Most people are on social media to engage with content. Would you want to engage will a dull piece of text that provides you no benefit, or would you rather watch a short video? Most people would choose the video, in fact, Facebook has already prioritise videos on their platform.
- A video on your landing page can increase conversion rates by up to 80%! This means you could be getting up to 5X more leads as you are right now.
- Video induces more trust with your company and your brand. Your customers will feel as if they already know you, over your competitors, and when they trust you, they will buy from you.
Now, these are just some of the benefits of doing video marketing, there are many more, but you are probably worried about the cost of producing a video, right?

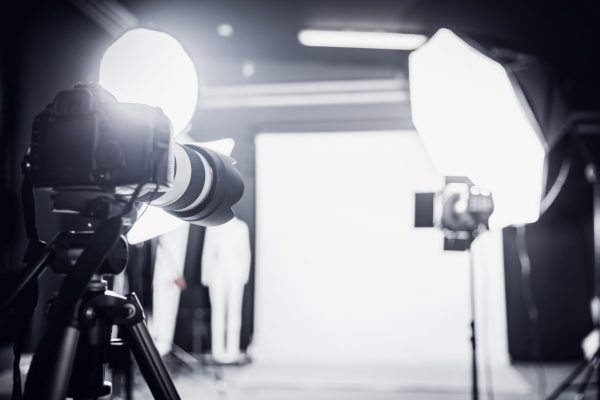
For a video production, even a simple one will set you back almost a thousand dollars, if you got other people to do it for you. If you got a professional video team to do something for you, you’ll be looking at high 4 figures or more, per video.
Why not do it yourself? What money you save on the production of the video can be spend on the ads to draw even more audience and leads in. Afterall, everything you need is in your pocket. That’s right, you only need your phone to start recording videos, no need for any special cameras or gears, at least not at the start.
The most important thing in any video is not the camera or the lens used for the filming, but the content of the video. Is your story engaging? Does it entertain or educate your audience? If your video either entertains or educates, then it will do a heck of a lot better than a video filmed on the best cinematic cameras, but has no story.
To start, we’ve prepared for you a short Beginner’s Guide to creating great marketing videos.
First thing we will learn is about the what Types of Marketing Videos are there.
1. Brand Video
This is self explanatory. A brand video is there to build brand awareness as well as to share with them about your company’s ideals. Think about Nike’s slogan – Just Do It. Now, they might make a brand video about an athlete competing in a sport, just to showcase their branding.
There’s no need for them to ask you to buy anything, they just want you to remember them the next time you’re looking for a pair of sports shoes.
2. Demo Video
Think of the unboxing or review videos you see on Youtube. Those would fall under this category. Basically, you demonstrate what your product does, especially if it is a new-to-market product, or a new innovation.
This allows your customers to know the value of your product and get them to purchase it.
3. Events Video
Are you running seminars or events? Showcase them to the world! Show the world what they are missing out on, and create a Fear of Missing Out (FOMO) feeling in your audience. They will happily join you the next time so that they can be part of your exciting world.
Nothing like a bit of FOMO to create anticipation in your audience. So, make sure you hype up what you’re doing, but keep the video short. Nobody wants to listen to an hour long talk the first time. Hook your audience in, and leave them wanting more.
4. Educational / How-to Video
This kind of video is best for converting leads who are already interested to buy a product or service that you’re selling. Your audience is looking to buy the product you’re selling, maybe just from a competitor.
With an explainer video, you get to show your audience how your product works, or what your service does, giving them faith in your products and process. And it also builds trust with them, so they will more likely choose you.
5. Explainer Video
An explainer video might sound similar to the #4 example above. But, instead of just of showing off your product, an explainer video should help your audience understand why they need your service (or product).
Such a video might start off with a fictional customer, who would match the profile of your customer. Let’s call this customer Mr Tan. Mr Tan may face a problem, and he doesn’t know how to solve it. Then, Mr Tan stumbles on your service, and it solves his problems. Your audience should relate to Mr Tan, and thus, understand why they need to purchase from you.
6. Testimonial Video
Would you believe everything someone says about themselves? No, why would you? They would have every incentive to praise themselves and only show you their best side. Of course, if other people also praise that person, this would lead you to believe the first person, right?
That’s what testimonial videos are for. They build trust between your potential customers and your company. Afterall, if you have served many customers, and all your customers like your product and service, why wouldn’t they choose you too?
Similar to a written testimonial, or perhaps a Facebook / Google review, a testimonial video is merely a filmed version.
Basics of Creating Your Own Video in 1 hour
Now that you know why video works, and what types of videos there are, how can you create your own video in less than an hour?
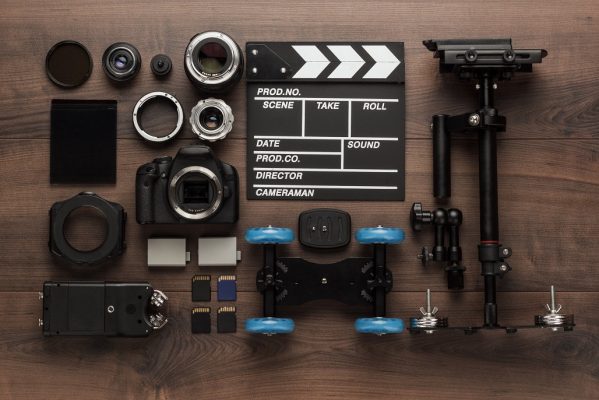
Here are some tools that you may already have:
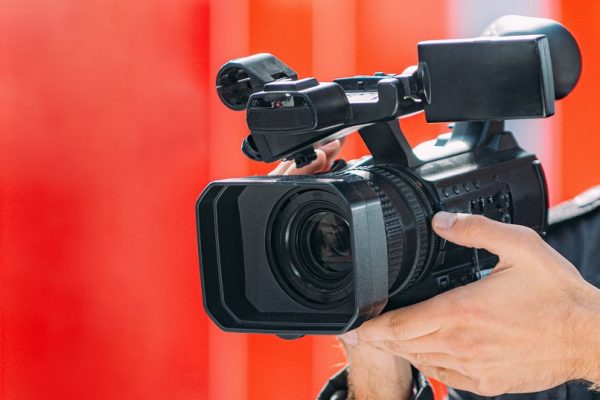
a) Camera.
Don’t have a camera? Use your smartphone. If your phone is from the last 5 years, your phone camera would be able to record decent video. In any case, the camera isn’t the most important aspect of amateur video.

b) Microphone.
Audio is actually more important than the video. Next time, watch a low quality recording of someone talking, and see how long you can listen in for.

c) Tripod.
Who likes shaky videos? Certainly not your audience! A tripod helps to stabilise your video, so your audience don’t feel like they’re experiencing an earthquake.

d) Lights.
If your audience cannot see you, or the product you’re selling, what use is the video? There’s no need for professional lighting, you can use what you have at the start. Just make sure the light is shining on your face, and not behind your face, so all the viewer see is a black circle.
Now we’re ready to film. Or….not.
Did you realise one thing’s missing?
Yes, that’s right, what do we film? There’s no script. Your viewer wouldn’t want to waste their time, they want to be entertained and engaged. So, you have to have a script so that you can provide them entertainment (and also, having a script means less to edit).

Today, let’s assume you’ve done up your script. A few tips for a good video script:
- You’ve got 3 seconds to hook your audience. If the first few seconds is boring, the viewer wouldn’t care about your amazing product. So, 3 seconds, give a great hook.
- Think of your audience, who are they? That will shape the type of language you use, whether it’s formal, informal, or even Singlish.
- Who’s the presenter? Make sure your script fits the presenter. If you use formal language, or technical terms for an explainer video, you might not want a pot-bellied uncle wearing singlet and flip flops at the coffee shop talking about your product.
Once your script is done, here’s a few things to do to shoot the video and edit it into a piece of content that your viewers would want to watch and engage with.

- Video Set up
Check your camera’s SD or microSD card is in, or that it has enough storage, as video recording takes up a huge amount of space, and you don’t want your recording to be cut short. If you’re using a smartphone, turn on airplane mode, and switch off notifications so that your video is not disturbed by your friends’ chain WhatsApp messages.
Set up your camera on the tripod, and see what is in frame of the camera, and where the edges are. Don’t like what you see on the screen? Adjust the camera until what is in frame is what you want to show your audience. If your camera or phone is on Auto-Focus or Auto-Exposure mode, you should lock the focus / exposure.
Keep in mind that if you’re filming a person, leave enough room above his or her head.
Here, I’m not going to delve in depth into the manual settings of the DSLR / DSLM / Camcorders. I’m assuming if you own those, you’ll at least understand the basics of aperture / ISO / shutter speed and how they relate to each other.
Keep in mind the white balance of your camera as well. Use the auto settings to best match the light whether you’re outdoors, in a fluorescent lit room, or otherwise.
- Audio / Lighting Set Up
Whether you’re using a secondary phone to record audio, or a basic audio recorder like a Zoom H1N, you’ll have to connect a mic to the audio recorder, and know where to hide the audio recorder (and mic). You don’t want the audience to see the mics or recorder and be distracted.
The important thing to note here is that your audio should be saved as a .wav file format. This file format will record all the silences in between your speeches, so that when you sync up the audio and your video, it will sync up nicely.
If you’re filming outdoors, try to minimise noise by not filming beside a road, or construction area. If you’re filming indoors, minimise noise by closing the doors and the windows, and switch off any noise making machinery (except those that’s vital) like fans, or telephones.
For lighting, if you’re filming outdoors, try to have the camera and yourself both in the shade. If that’s not possible, try to avoid shooting during noon where the light is the harshest.
For indoor shooting, if you don’t have studio lights, try to put your talent or speaker behind the light source, so that they will be lit from the front. Do not put the talent in between the light source and the camera. Your talent’s face will be dark (unless you’re going for that artistic look).
If you do have studio lights, or if you have multiple moving light stands, ensure that the temperature of the light is the same. (Either all are fluorescent lights, or tungsten lights, not a mixture). Usually, we use a 3 point lighting technique to light your subject. The first is known as the key light, the second is the fill light and the last would be the back light.
As the name suggests, the key light is your main light, and should be in front of your talent, at a 45 degree angle. Your fill light is used to fill in the shadows created by the key light, and the back light is to separate your talent from the background.
If you have lesser than 3 lights, then the priority order is always key > fill > back.
- Prepping your talent
Ideally, you should have your set-up ready before your talent arrives. You do not want an inexperienced talent / speaker to sit around and see the set up being done, adding to their stress.
In addition, you should do a “table read” with your talent. Have your talent read through the script a couple of times until he / she is comfortable. Things to look out for, is the tone and inflection in their voice. Note which words are important and how to stress on those words.
Once that is done, you simply wire the talent up for sound, and press Record on your camera / phone.

- Editing
What do you do with the footage that you’ve recorded? How do you turn raw footage, a .wav file into a complete video?
You’ll need to use a video editing software, of course. But since this is your first video, you have no idea what to use, and Google will give you a hundred results on what video editing software you can use.
So, here’s a few that I’ve used, and my thoughts on them.
This is a full fledged video editor, and I can’t recommend it highly enough. The learning curve at the start is a little steep, but it has more than a few good things going for it.
It’s FREE.
Most of the features that you will ever use is included in this software, and they don’t limit the number of videos you can export nor do they watermark your videos, which is a huge bugbear with me.
Resolve (you can buy Studio for about SGD$400-410, depending on the USD exchange rate) earns money when you buy the full software, but you’ll probaby never need it. They also sell hardware for video editors.
VideoPad is FREE too, but they limit you in the number of tracks you can use, and I think you’re limited in how long you can use it for free for.
It’s also a less capable software than Resolve, and crashes a bit more, but that said, this is easier to start with and use.
To edit your videos, simply import all the footage and files into the bin. This is your storage area for all your files. Make sure you do not move your files into other folders after you’ve transferred them into the bin. Otherwise, the file will be marked as “missing” in the software.
That’s it, cut and paste the footage as needed, selecting for the best take of each line / snippet. And you’ll have your video in no time. Make sure to upload your video, and share it with your interested audience.
A few pointers to keep in mind:
- Subtitles will help your audience understand you / your talent better. Those who are hearing impaired will also be able to understand your video.
- Remember to have a Call-To-Action at the end. This can be as simple as having your logo / website / number at the end of the video.
- Keep it short. Most people wouldn’t watch a video if it’s over a minute in length. So, if you can get your point across in 20 seconds, do so.
- When you upload your video, make sure to give it a good title and description, so that the viewer knows what they’re watching. This helps SEO too.
In Conclusion
Video marketing is a highly effective tool to use in the digital era. I hope this simple guide has been helpful in getting you started on your video marketing journey.
If you feel that you’re still lost about marketing in general, why not drop us a short message to see how Warm Media can help you grow your business?